Ticket Scanner
The ticket scanner is a feature you can use to confirm actions from attendees.
The event creator will automatically have the scanner permission unlocked. In order to use the scanner, first you must create a ticket scanning session.
Creating a Scan Session
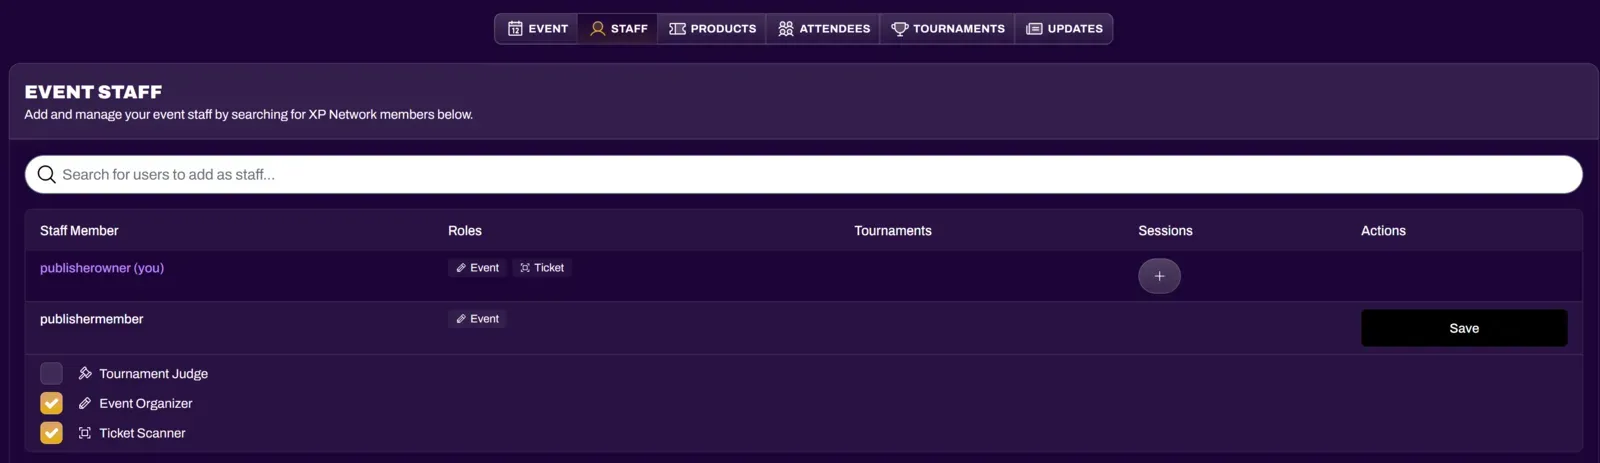
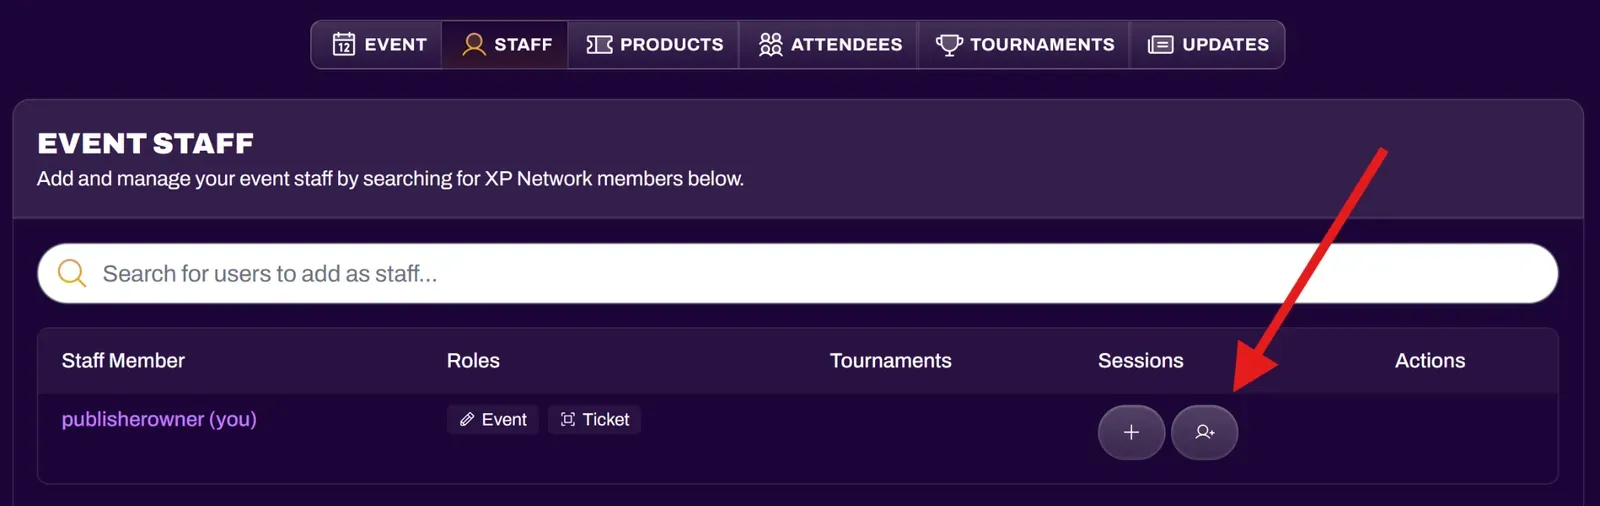
Section titled “Creating a Scan Session”Under the Staff tab, select the + button under Sessions of the staff member you want to create a redemption session for. Additional staff must be given the Ticket Scanner role before you can create a scanning session for them.
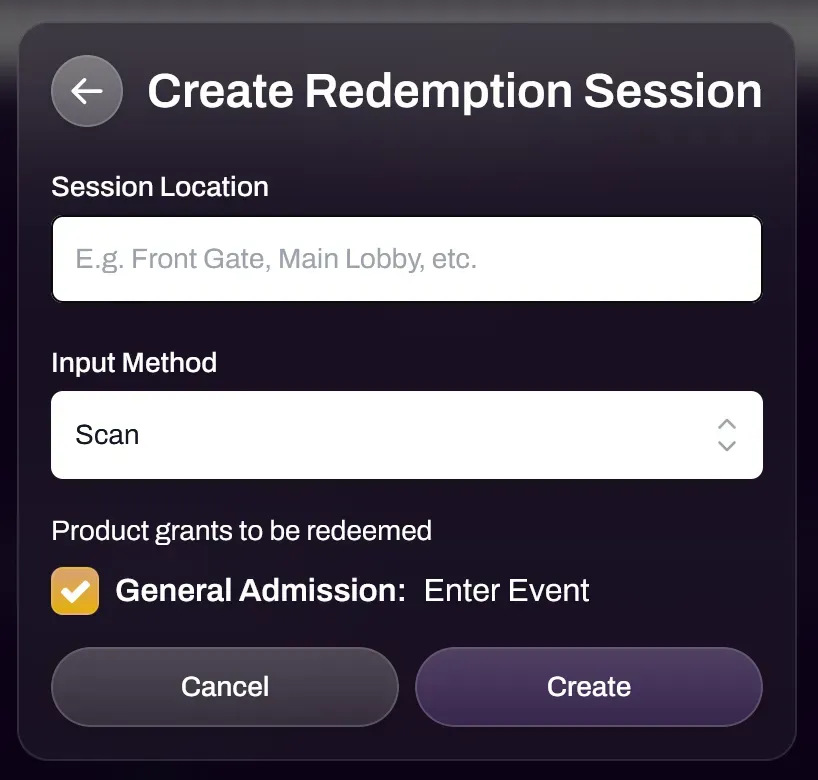
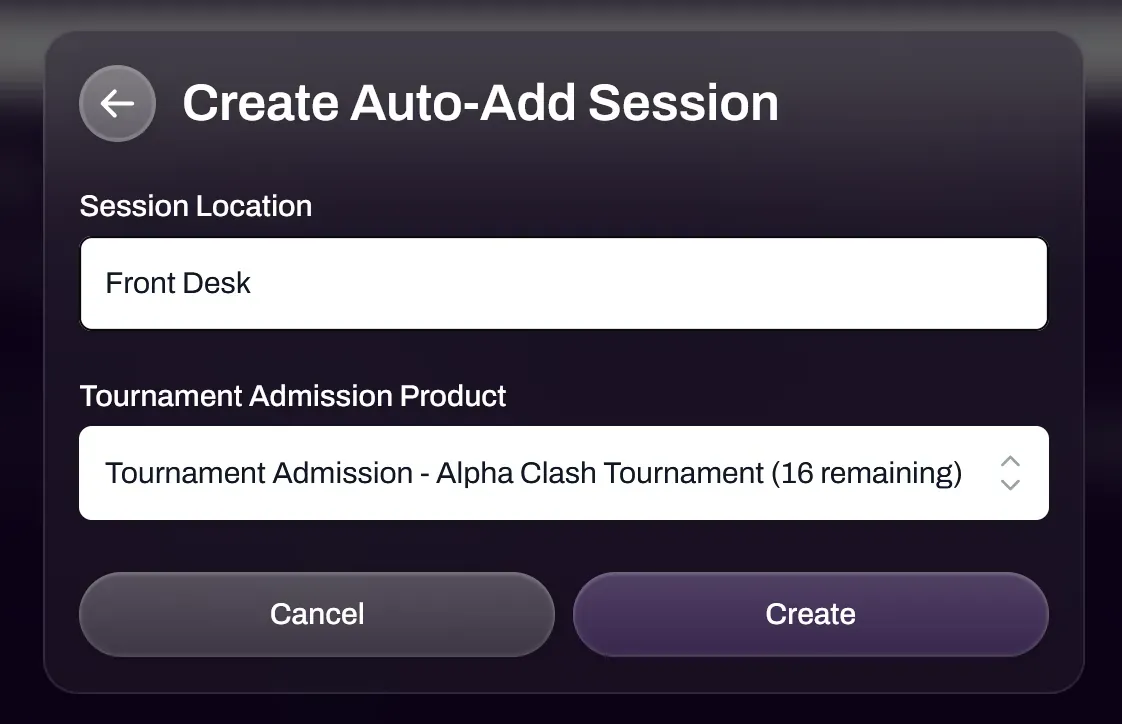
You have the ability to label a Session Location for the redemption session. This is useful when reviewing your redemption logs to see who scanned what and where. For example, you can label the session “Front Door” for the bouncer at the entrance of a bar, or you can label the session “Prize Booth” for scanning a ticket for a prize pickup. If scanning for attendance at a local game store, you could label the location “In Store”.
You can then select the tickets that can be redeemed by the redemption session. In the case of multiple tickets, this is where you can control which staff member has the ability to redeem what.
Scanning Tickets
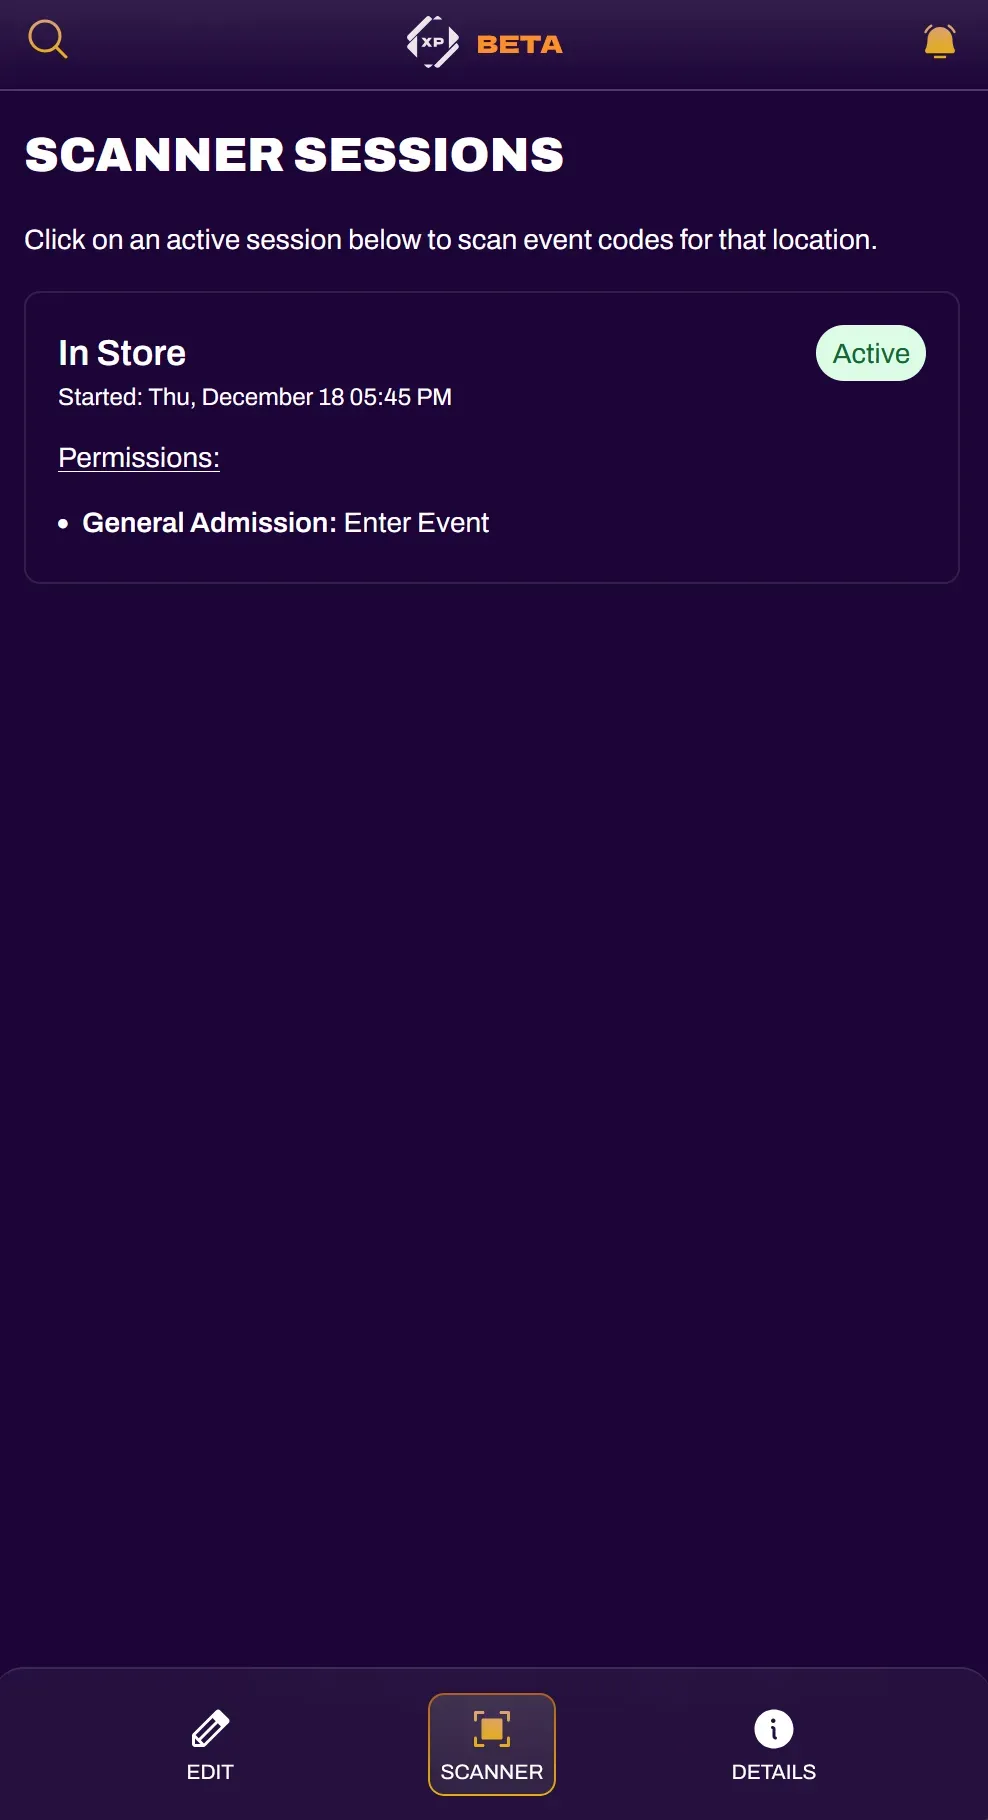
Section titled “Scanning Tickets”Once a scan session is created, navigate to your Scanner tab and select the scan session. Your device may ask for permission to access the camera. You can scan via any device that has a camera, such as a mobile phone or computer with a webcam.

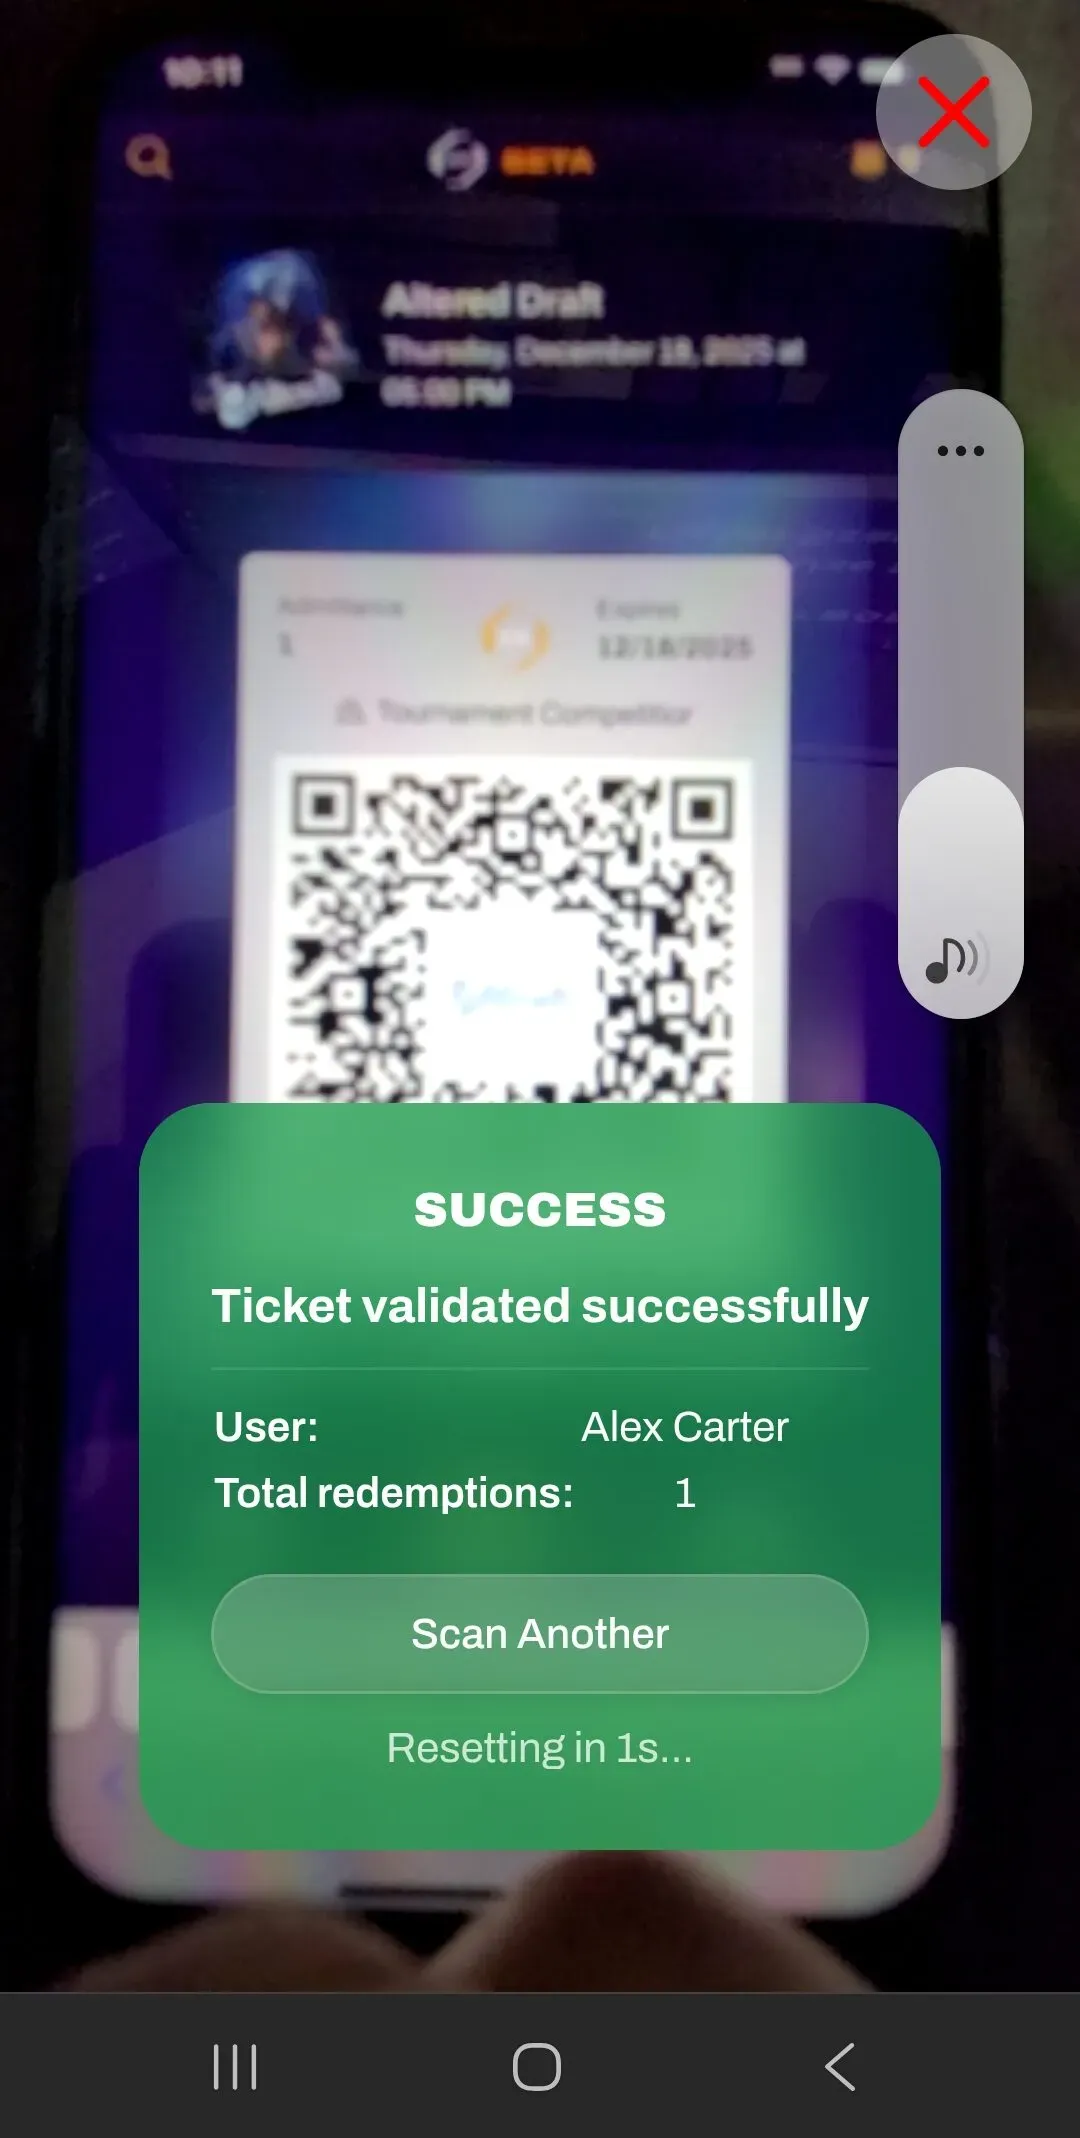
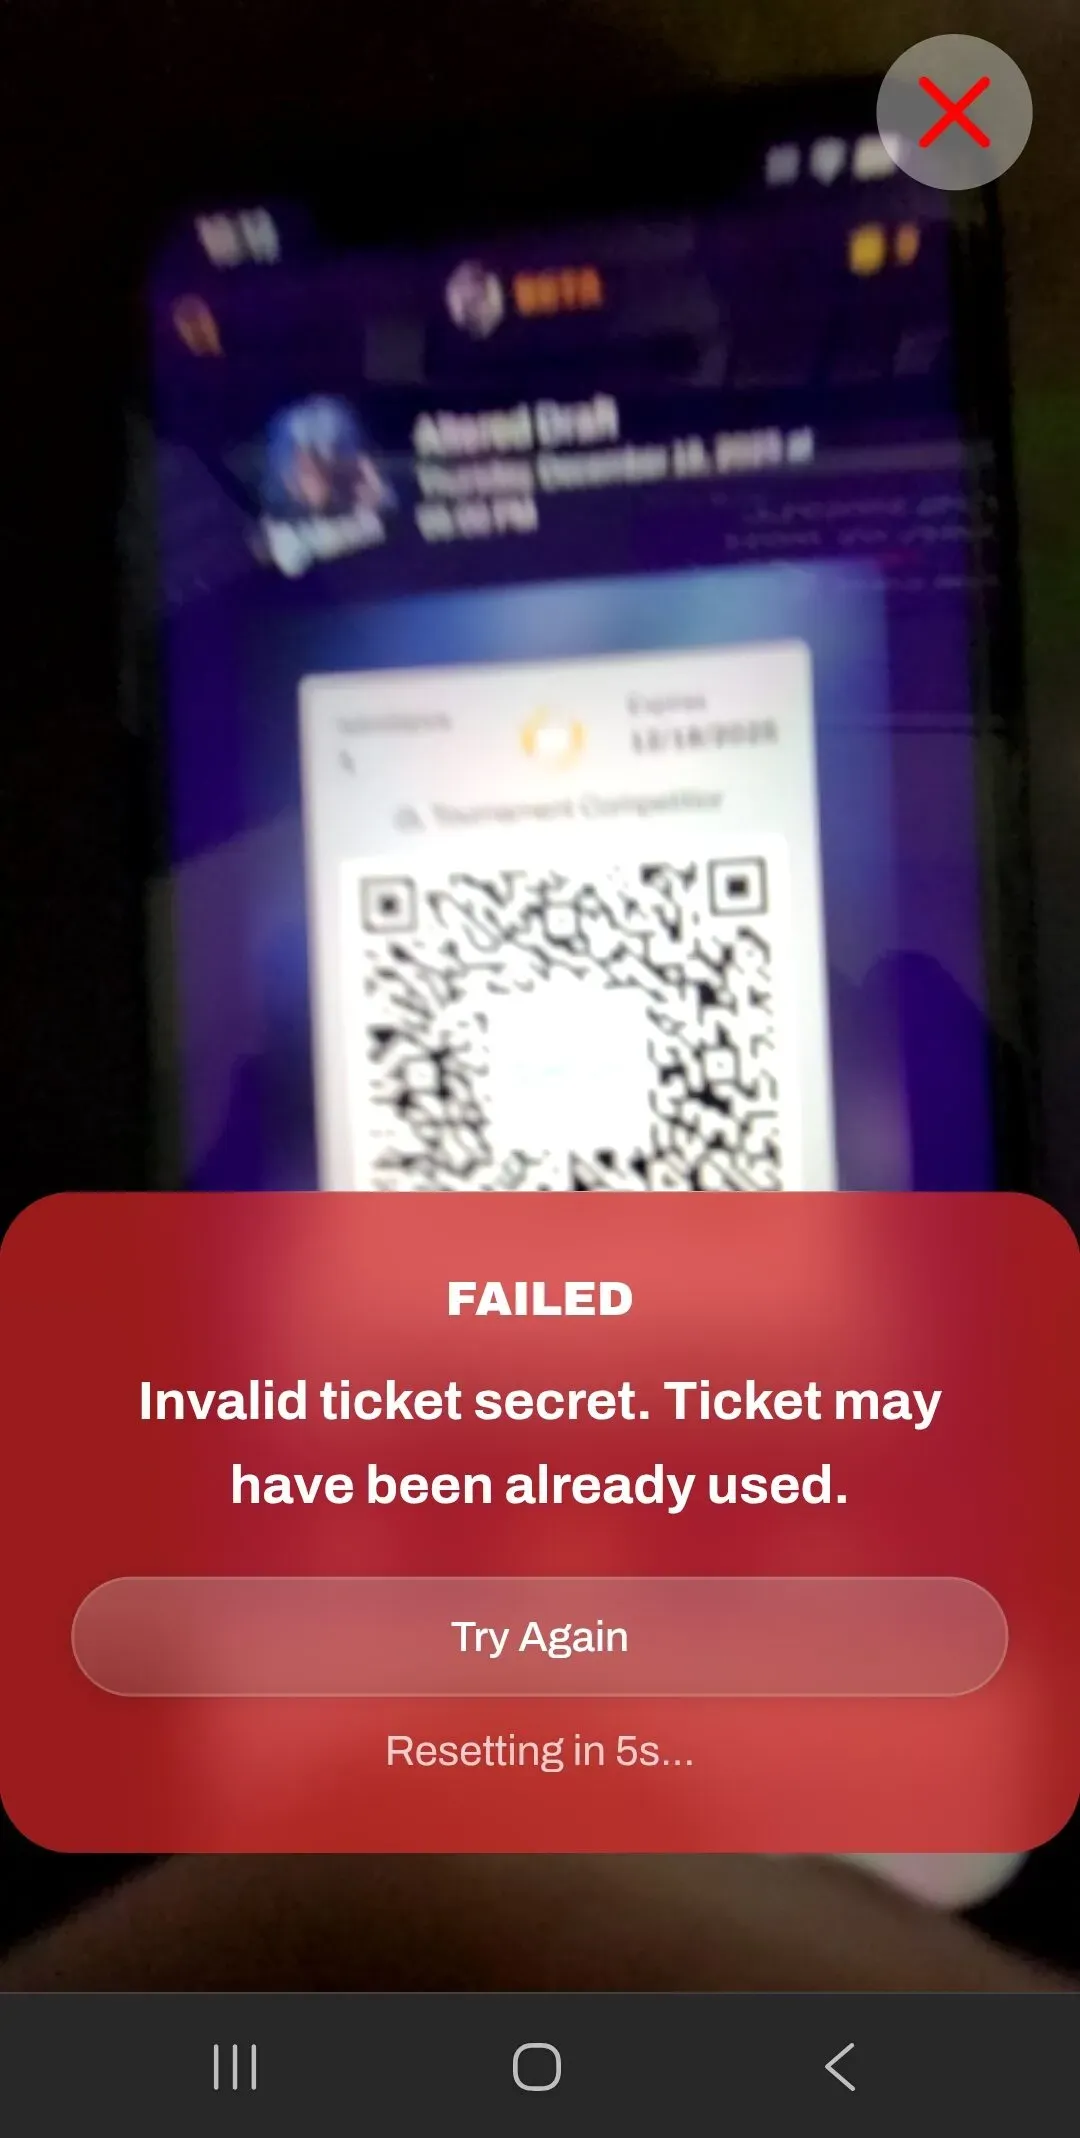
Open the scanner session and center the attendee’s QR code ticket within your camera. The system will automatically scan the ticket.
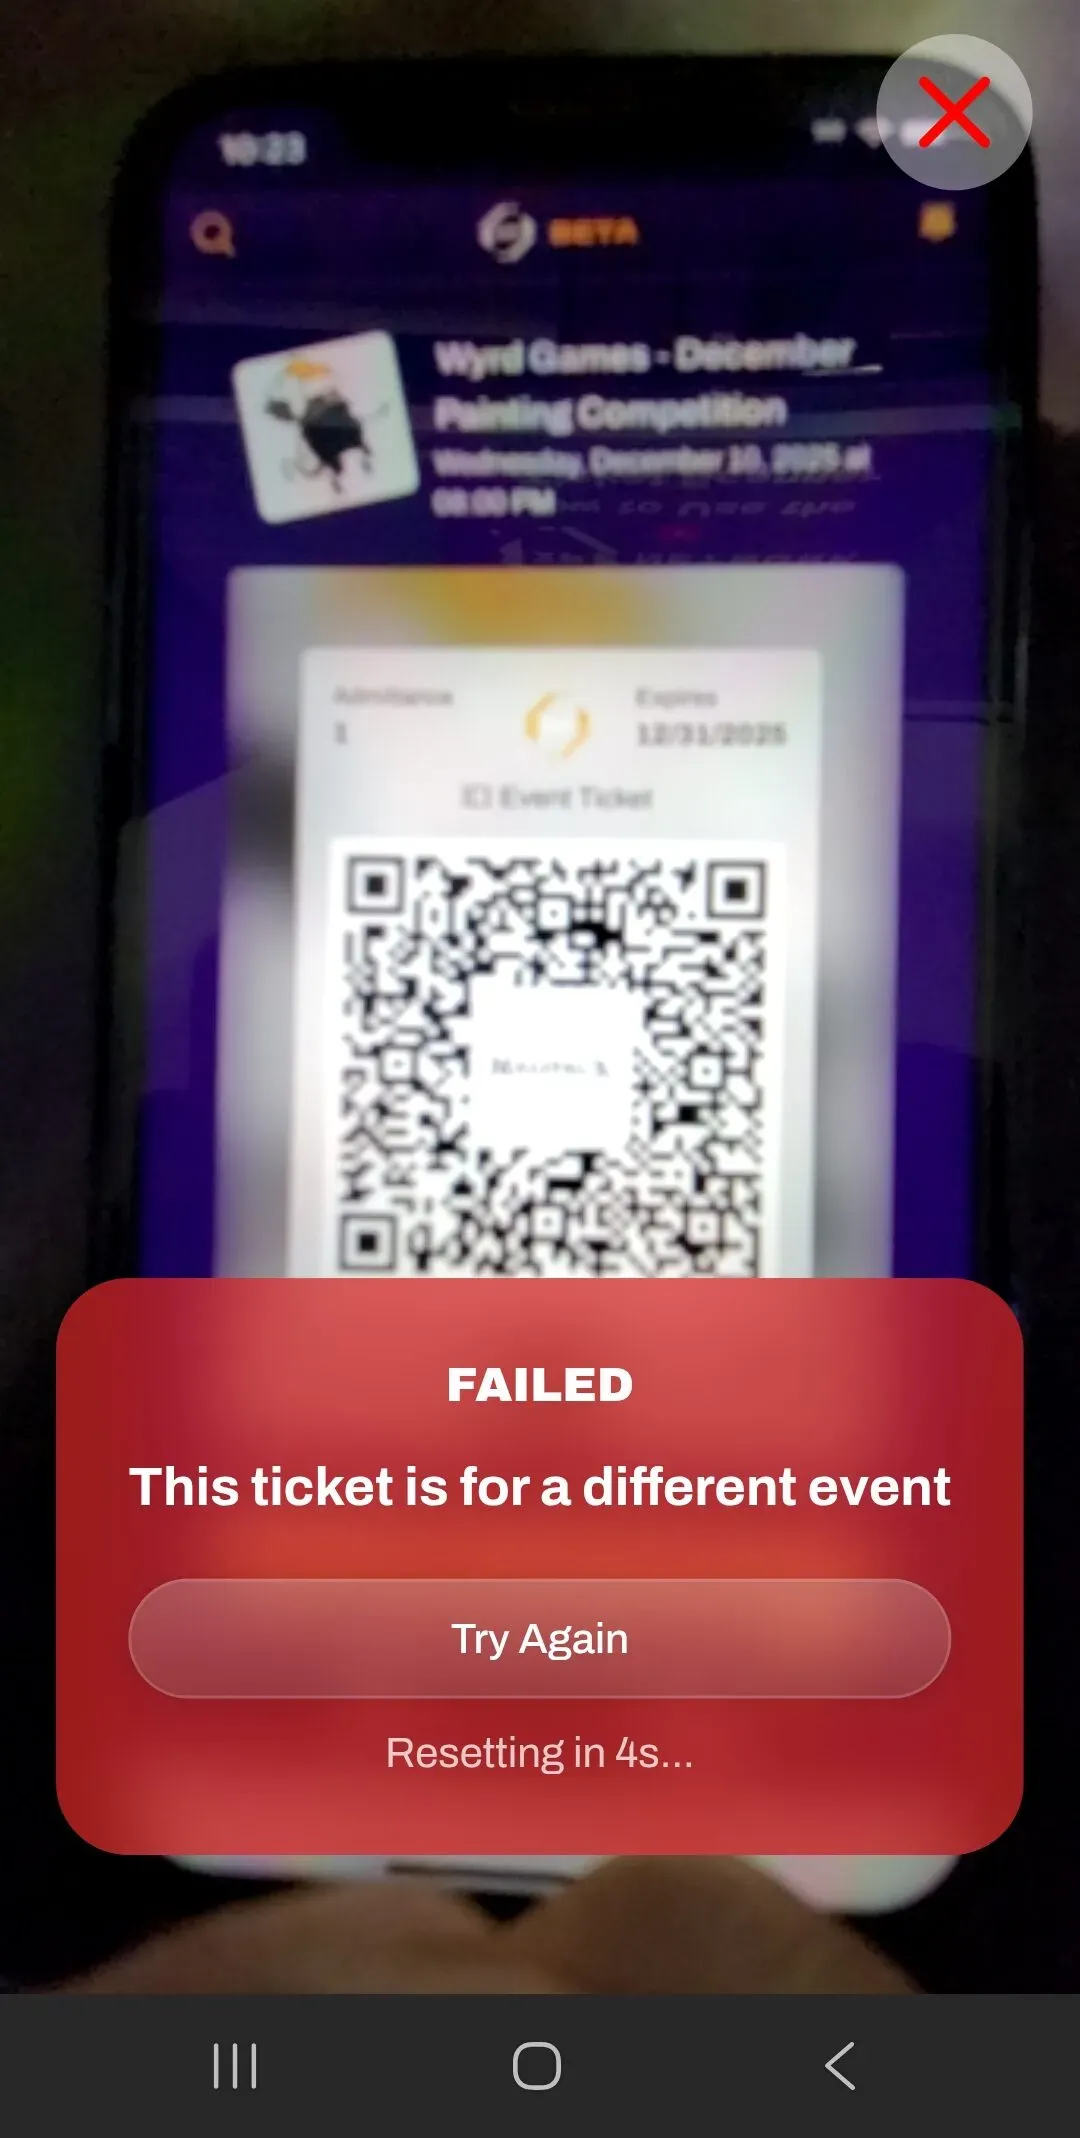
If the ticket has already been scanned, you will see an error message saying that the ticket has already been redeemed. An error message also exists if you scan a ticket that is not for the respective event you are redeeming for.
Scan Logs
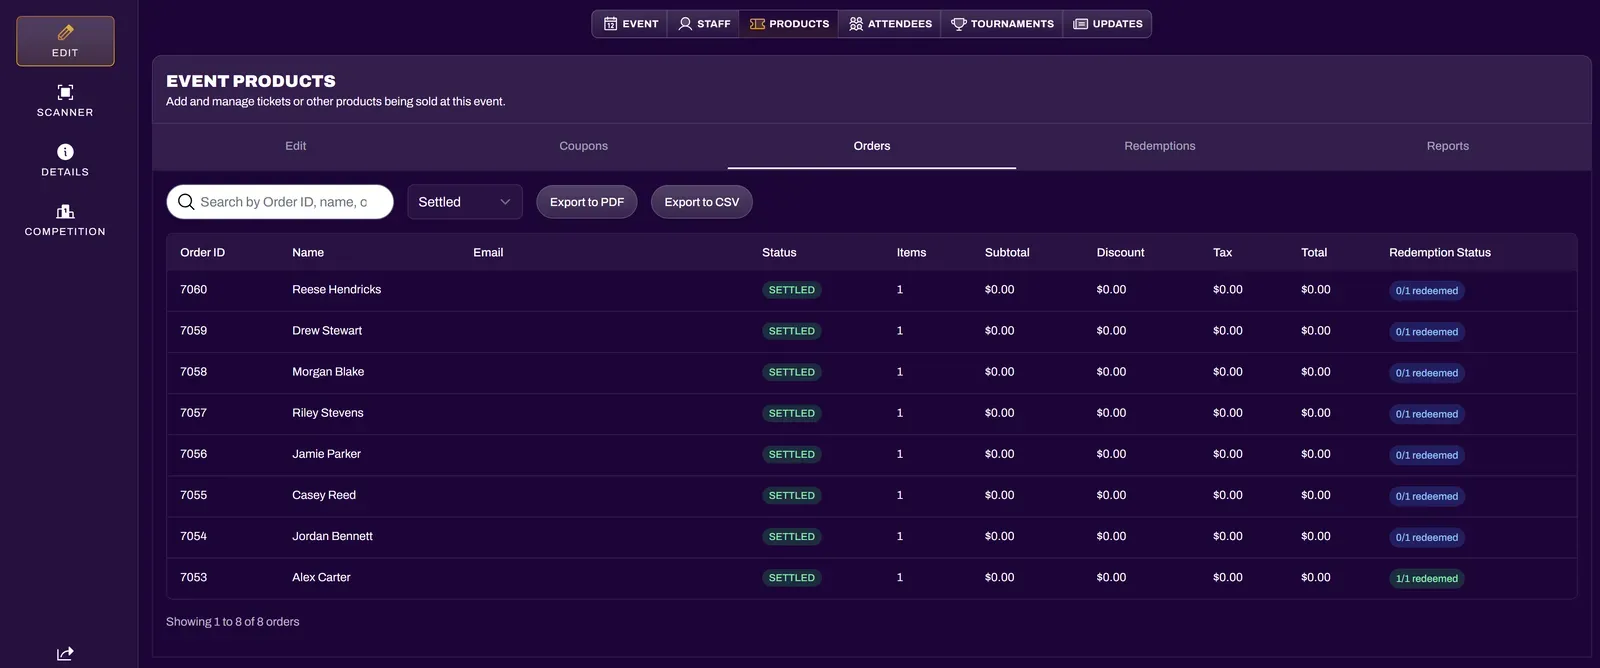
Section titled “Scan Logs”Under the Orders section of the Products tab, you are able to see the Redemption Status of each ticket for your event. The Redemptions section shows a log of all ticket scans, which session they came from, and the ticket scanner who performed the action.
Manual Redemptions
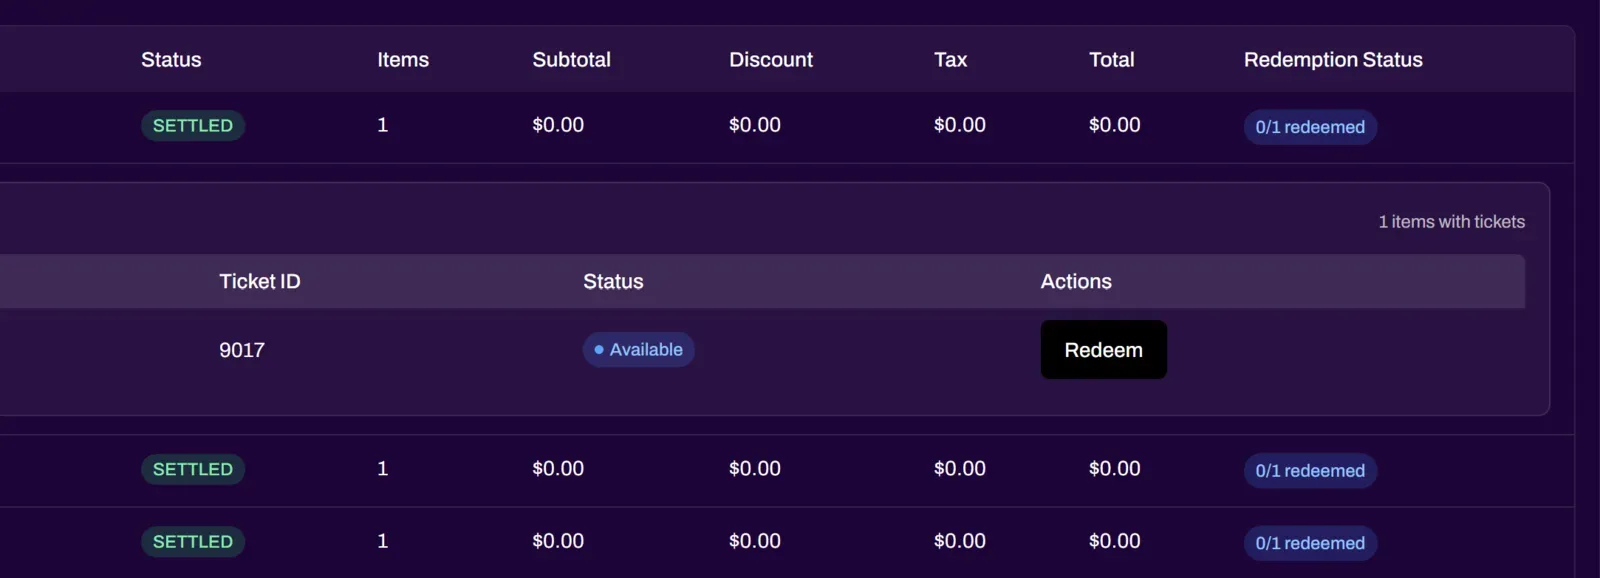
Section titled “Manual Redemptions”You can also Manually Redeem a ticket in the case of a severely cracked phone screen or a non-functional camera. Selecting an attendee’s ticket under the Orders tab will reveal an option to manually redeem their ticket. The system distinguishes between a camera-scanned redemption and a manual redemption for analytics purposes.
Auto-Add to Tournaments
Section titled “Auto-Add to Tournaments”XP Network offers a feature where organizers can scan an attendee’s XP Card to automatically add them into a tournament. This makes it easy for players to register for tournaments on-site.
After creating a tournament and the tournament admission ticket, navigate to the Staff tab and select the Create Auto-Add Session button.
Select the tournament that you would like to directly scan players into.
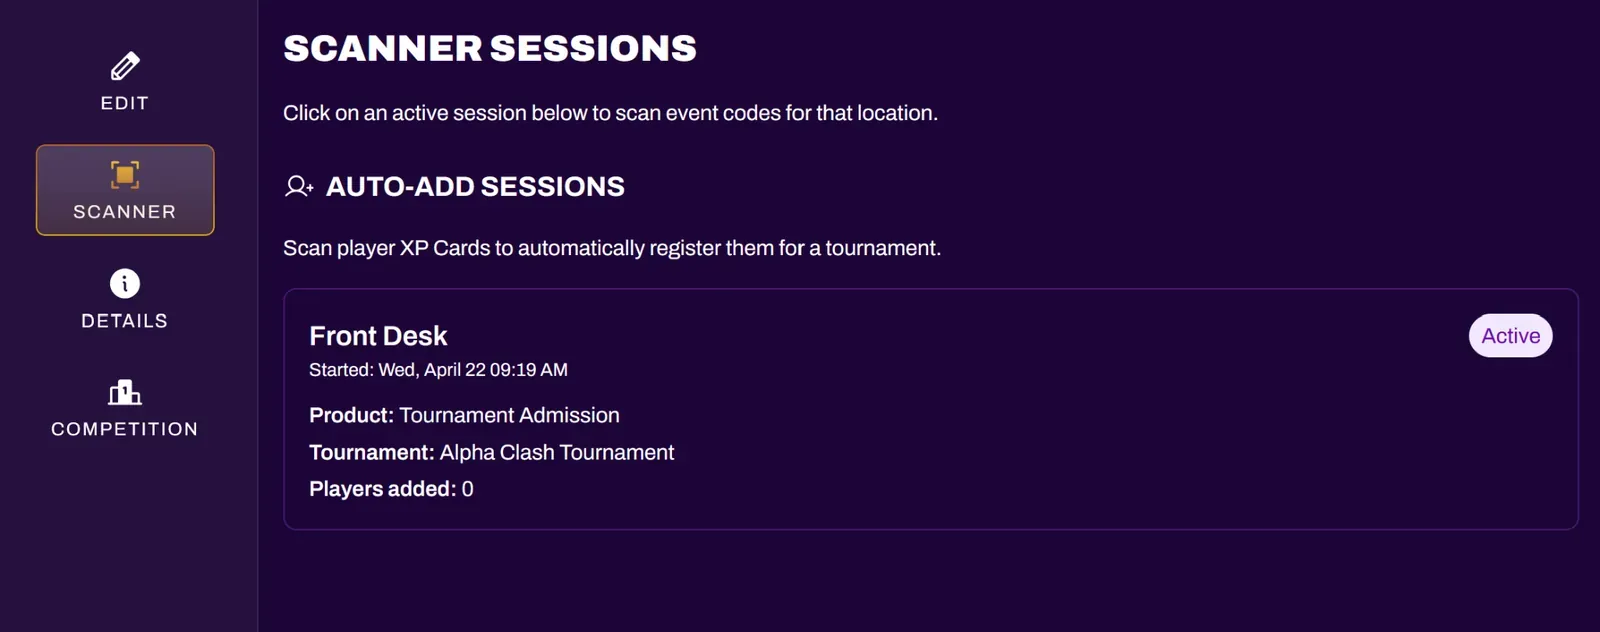
After creating the Auto-Add Session, it will appear in your Scanner tab. Selecting it will open your camera to begin scanning.
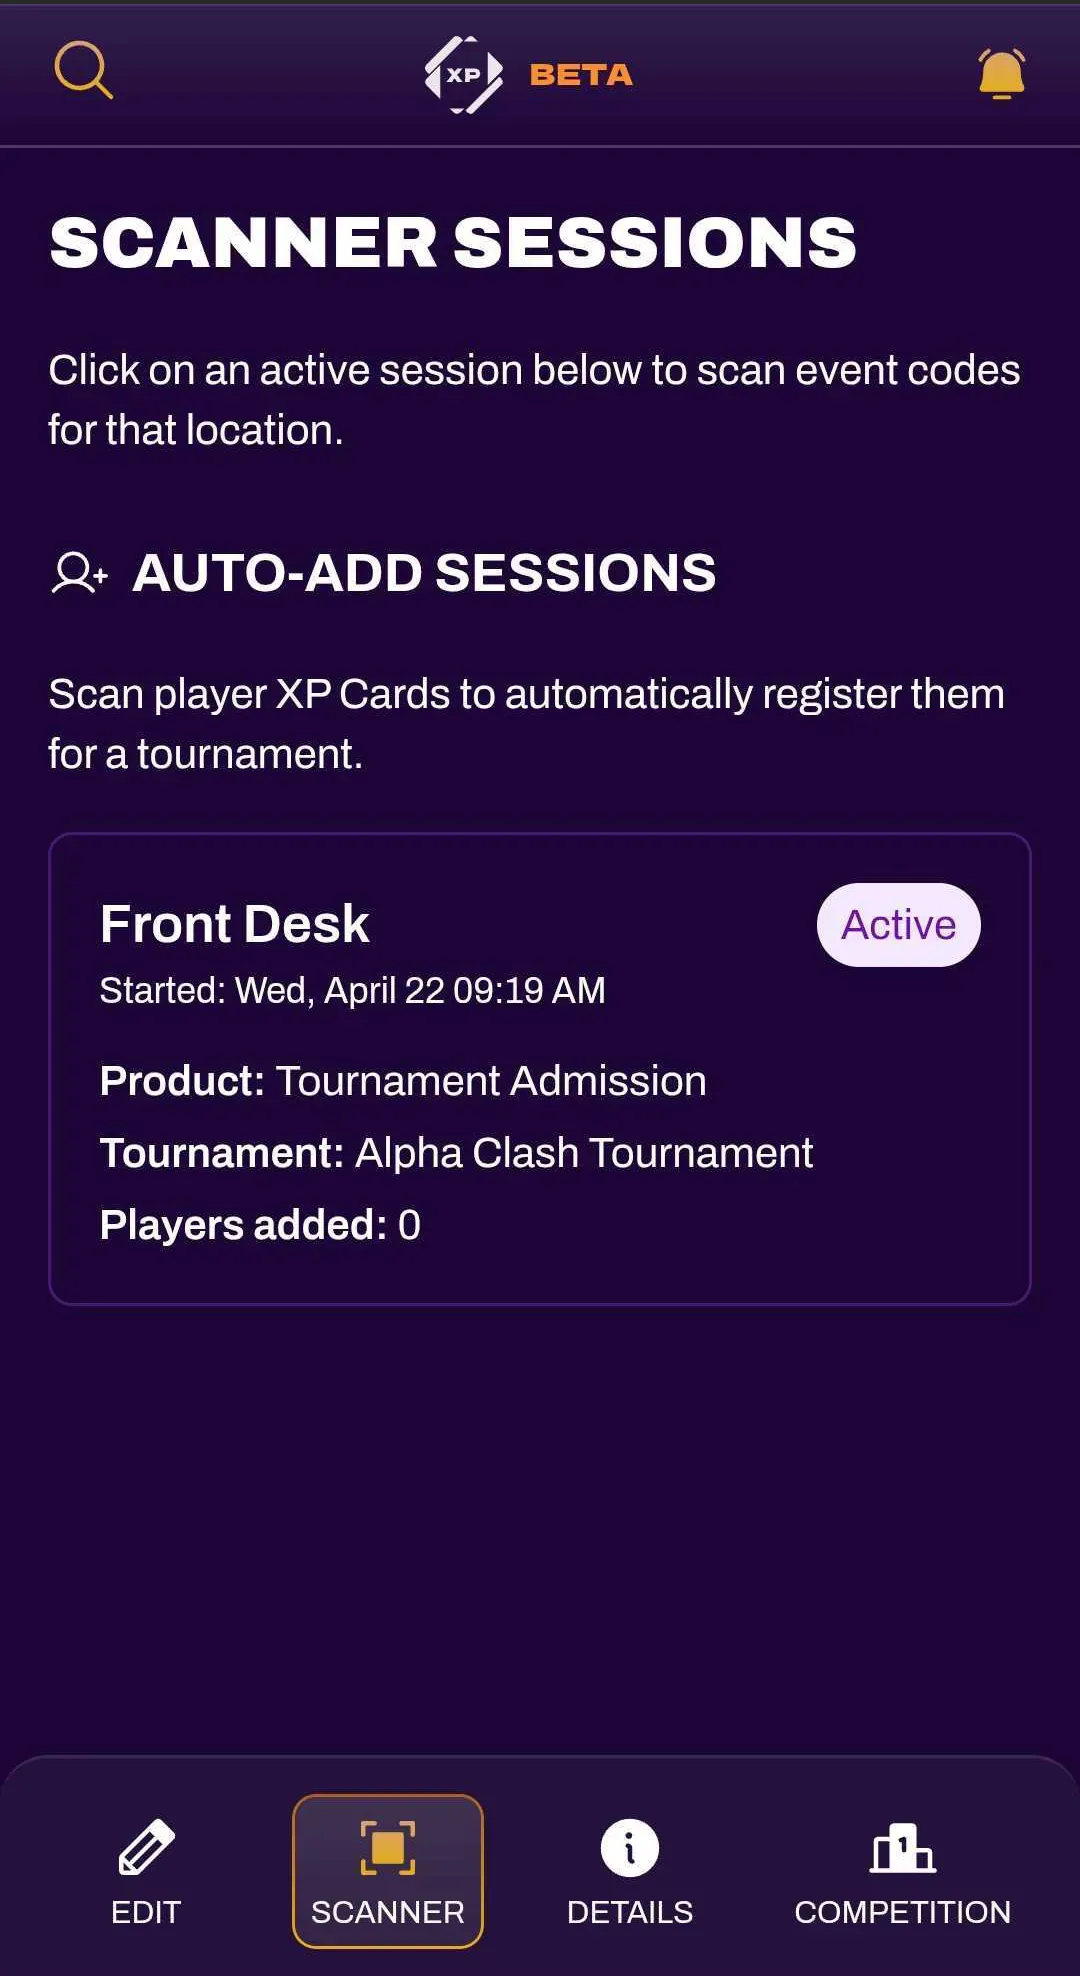
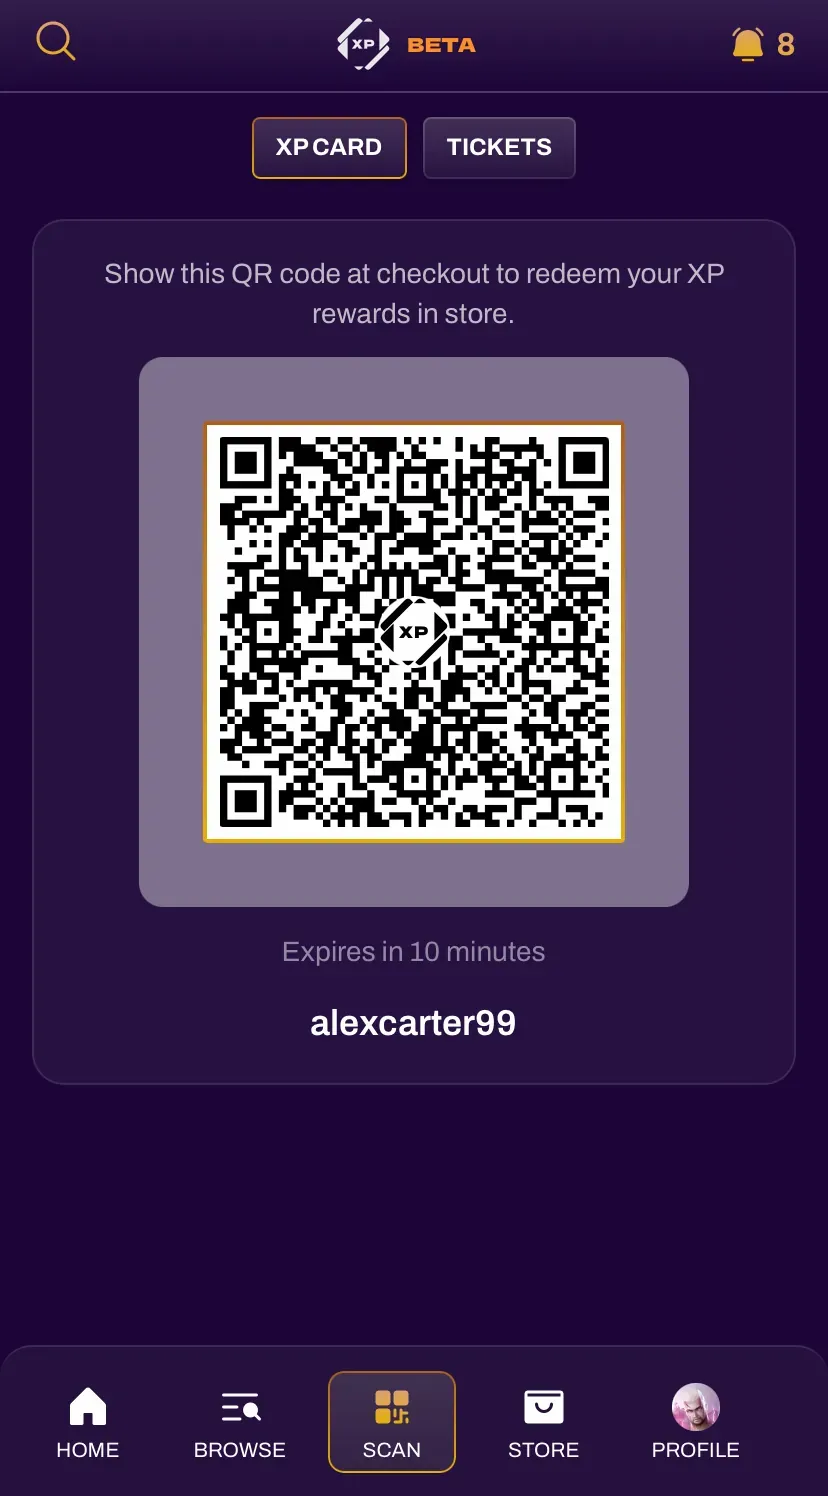
Players can find their XP Card by navigating to their Scan tab. Scan their XP Card through the Auto-Add Session to automatically add them to the tournament.
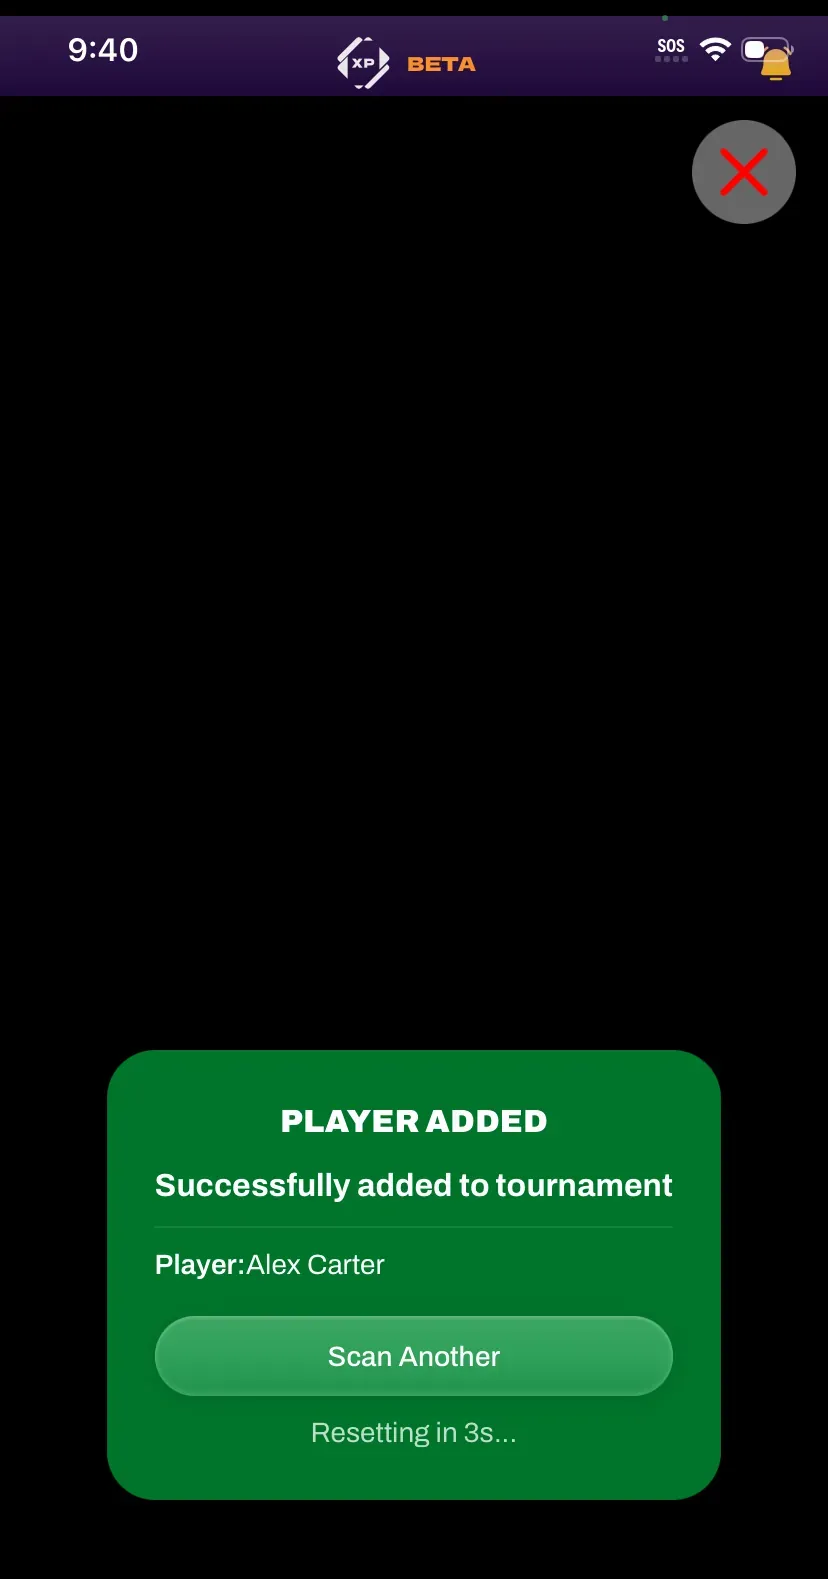
A successful scan will display a green message confirming the player has been added. Attempting to scan a player who is already registered will result in a message confirming they are already registered.

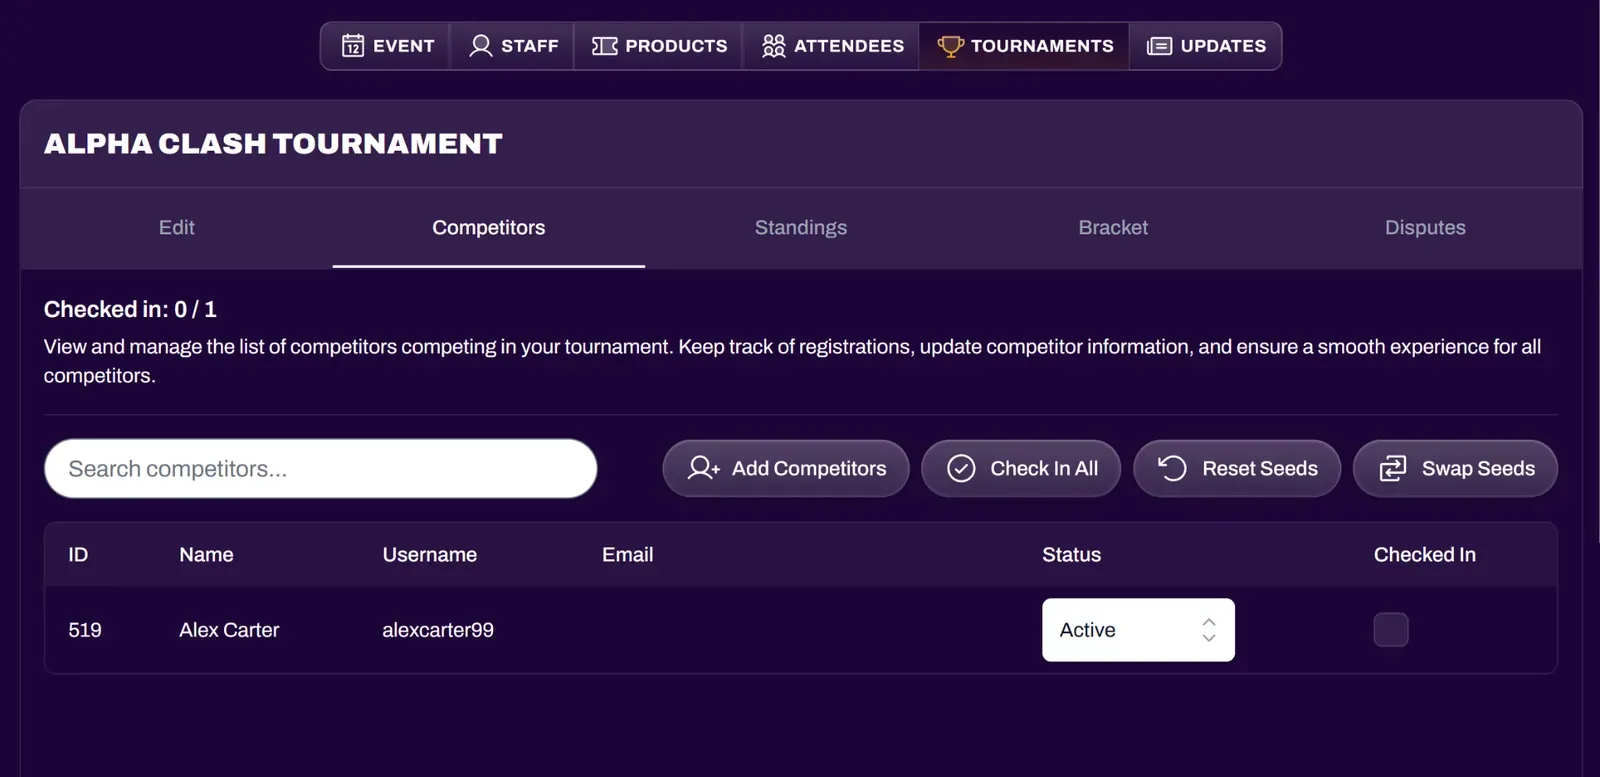
You can confirm added tournament players by navigating to the Competitors tab of the tournament.
Video Tutorial
Section titled “Video Tutorial”You can review a full video tutorial on how to use the Ticket Scanner here: